Absolute Basics
Starting to learn a new hobby can be a daunting task, and knitting is no different. Often it can be hard to understand what the array of new stitches and patterns, it can feel like they are all speaking in code! But worry not, we have compiled some of the main features of knitting into one big post to help you wrap your head around it all, and maybe make knitting feel a little easier.
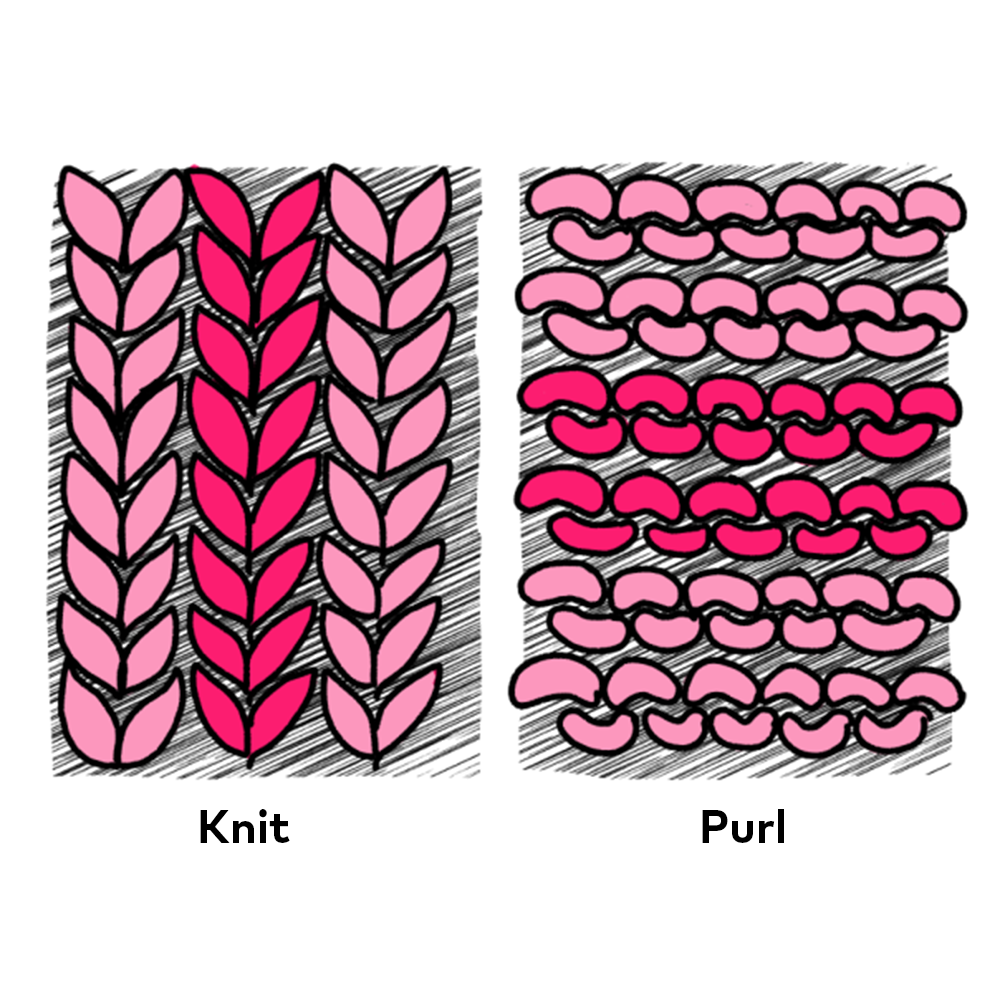
Stitches:
These are the foundation of all knitting. After all, these are what make your knitted works a reality. Every pattern is made up of a combination of two base stitches called knit and purl. Both work the same way; the only differences are how you put your right needle into the stitch and where your yarn is in relation to it.
Abbreviations:
These are used in knitting patterns to convey what your rows are made up of without creating long paragraphs of text. Most of the time your pattern will have a table telling you what each abbreviation means.

In knitting charts, a similar concept applies, only along with the abbreviations there will be a chart telling you which symbols mean each stitch type. Bear in mind however that the symbol for each stitch can be different in each chart.
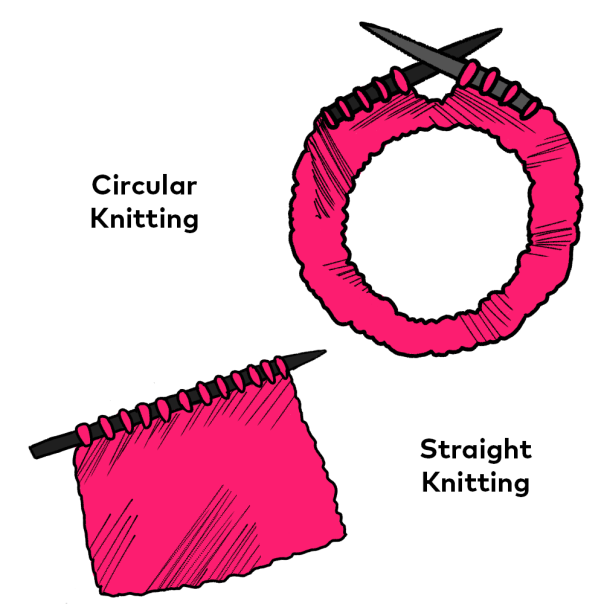
Straight or Circular:
These are two different ways to knit, working ‘straight’ (also known as working ‘flat’) which involves knitting over two needles going from left to right. The other way is knitting ‘circularly’ by continuously working the row around in a circle to make items like hats and socks.
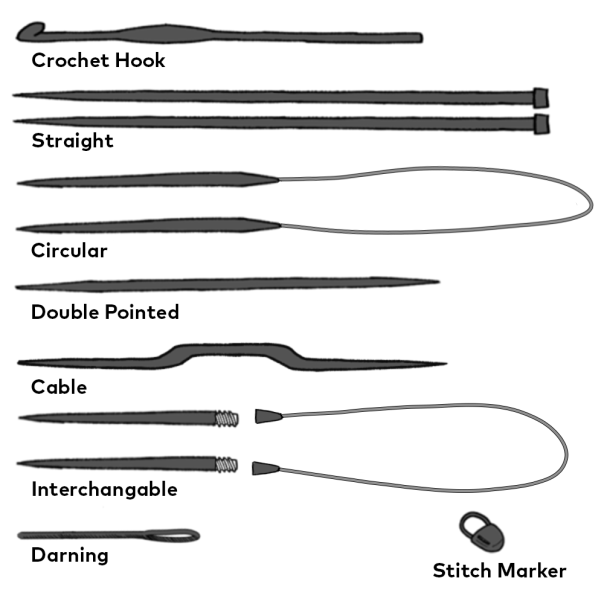
Needles:
These are your instruments for making knitted pieces, you can’t knit without them! Coming in multiple different forms and materials, there is a pair out there for every preference, skill, ability and budget.
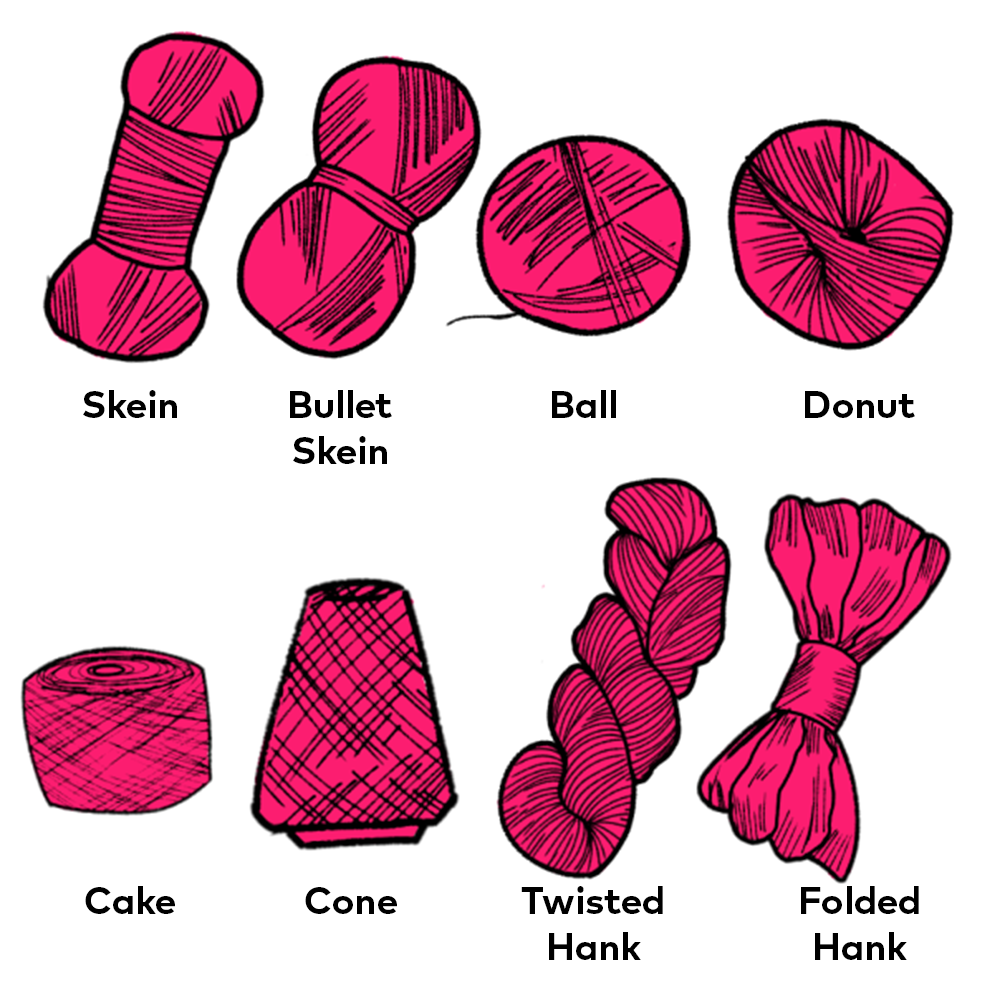
Yarn:
This is where the magic happens. When choosing a yarn, it is important to make sure that you choose a weight (thickness), colour and type that match the project you’re creating. Also make sure that your needle size and yarn weight match. For example, chunky yarn and thin needles won’t give you the result you want.
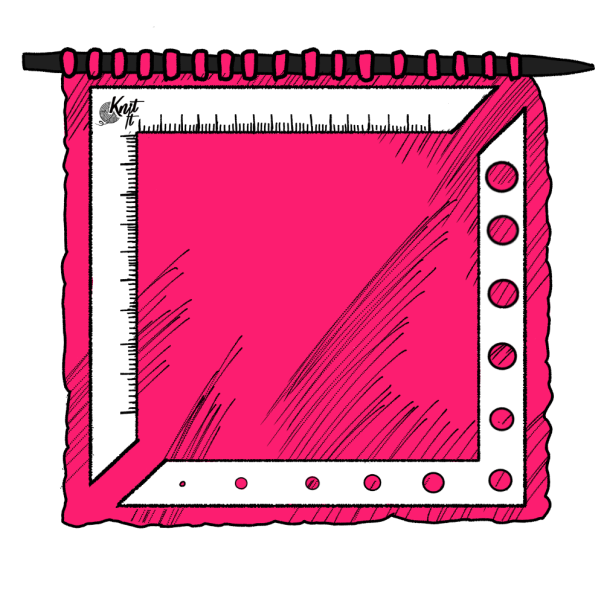
Gauge:
A gauge is a useful part of any knitter’s kit. These can come in two forms, a needle gauge and a knitting gauge, however both can be combined. Needle gauges are for checking the size of your needles. Often needles will come with their size printed at the end, but it is always useful to have a gauge handy. As for knitting gauges, these are often just for checking if your work is the right size in comparison to the pattern, if your work doesn’t match, this usually indicates issues with your tension.
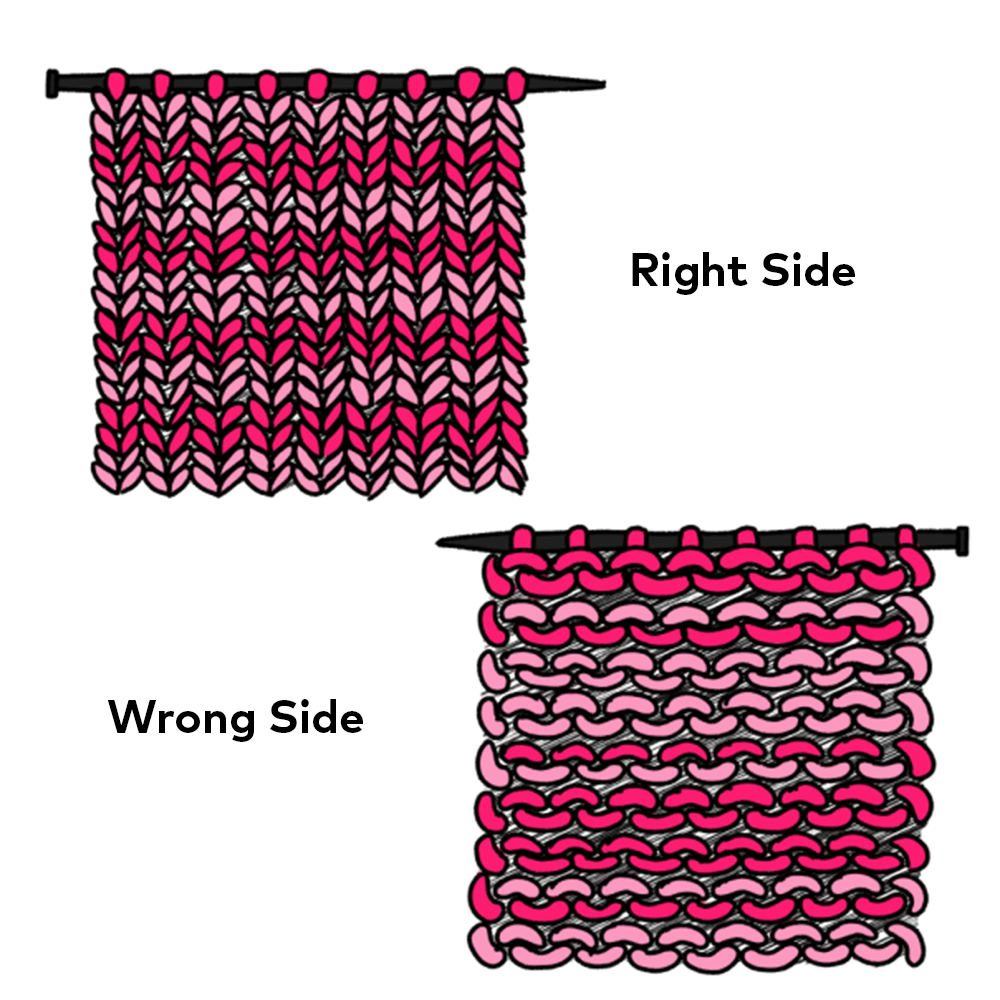
Right and Wrong Sides:
The sides of your work are important to keep track of, as the right side is usually the prettier one, and the wrong is the one that is more often hidden. Knowing the difference is important as it plays a big role in knitting with multiple colours, sewing up, and weaving in your ends.
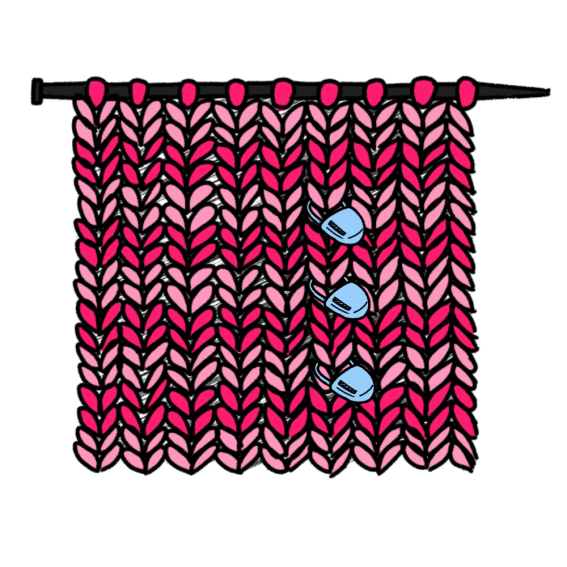
Stitch Markers:
Stitch markers can be integrated into patterns or used by choice, but they are helpful to keep check of a certain point in your knitting as you progress. For example, where the shoulders will be sewn to the front piece of the jumper would be an ideal place for a marker.
How to place a marker:
- Insert the stitch marker into the stitch you want to mark
- Close the marker
These are the basics you need to learn to knit – alongside how to hold your knitting needles! By following what you’ve read above, and with plenty of practice, you can easily create any project and follow any pattern.
Now you know the basics, lets see what skills you can pick up and what you can create!