How to Fix a Dropped Stitch
Even the most experienced knitters will encounter dropped stitches in their work, so it’s best to get a head start on knowing how to fix them. Usually, you can see a dropped stitch - it creates a long ladder like tear in your fabric with the loop of your dropped stitch sat at the bottom. This can look daunting but don’t worry, it’s an easy fix.
Step 1:
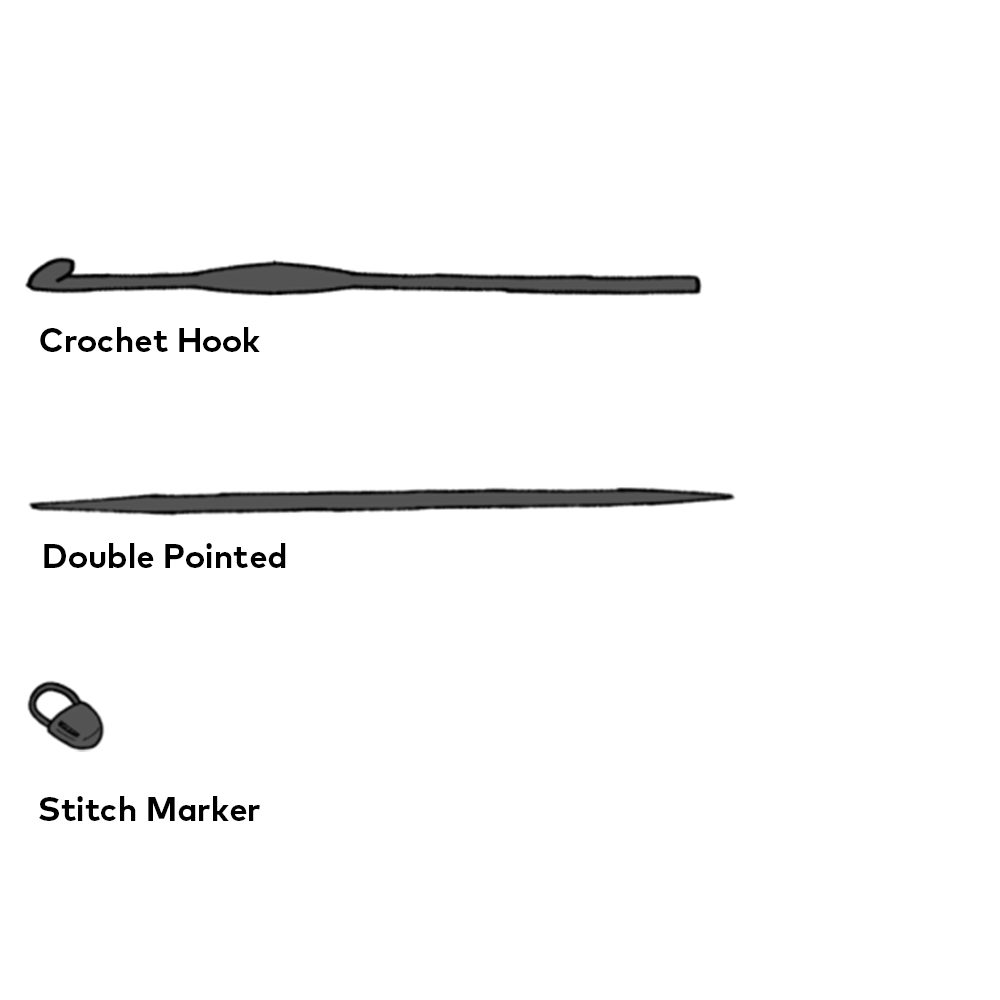
Do not panic. Start off by grabbing yourself a double pointed needle or crochet hook, these tools will be used to help the stitch climb back up to where it needs to be. Additionally, you can use a stitch marker to help you keep an eye on the rogue stitch, but you don’t have to.
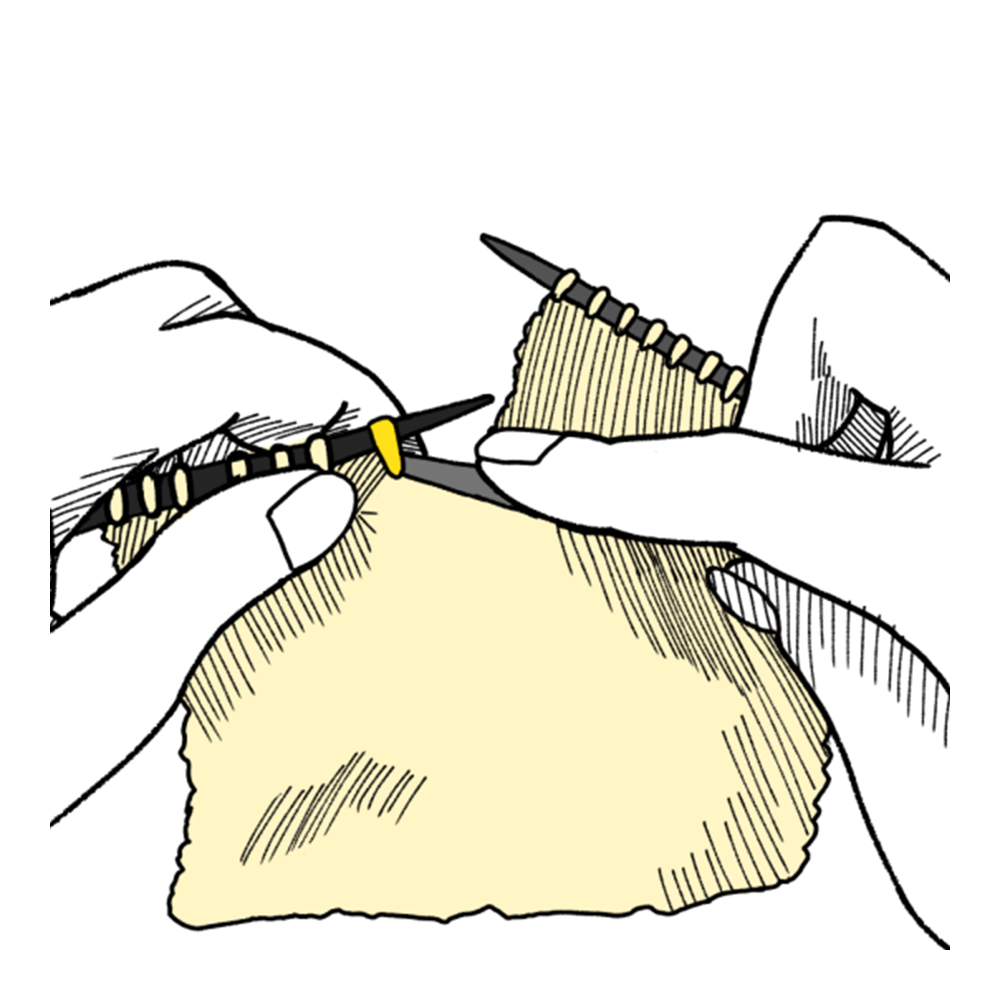
Step 2:
Knit up to the gap. Once here you can start to get your piece back on track. It may have dropped down one ladder, or it may have dropped a few.
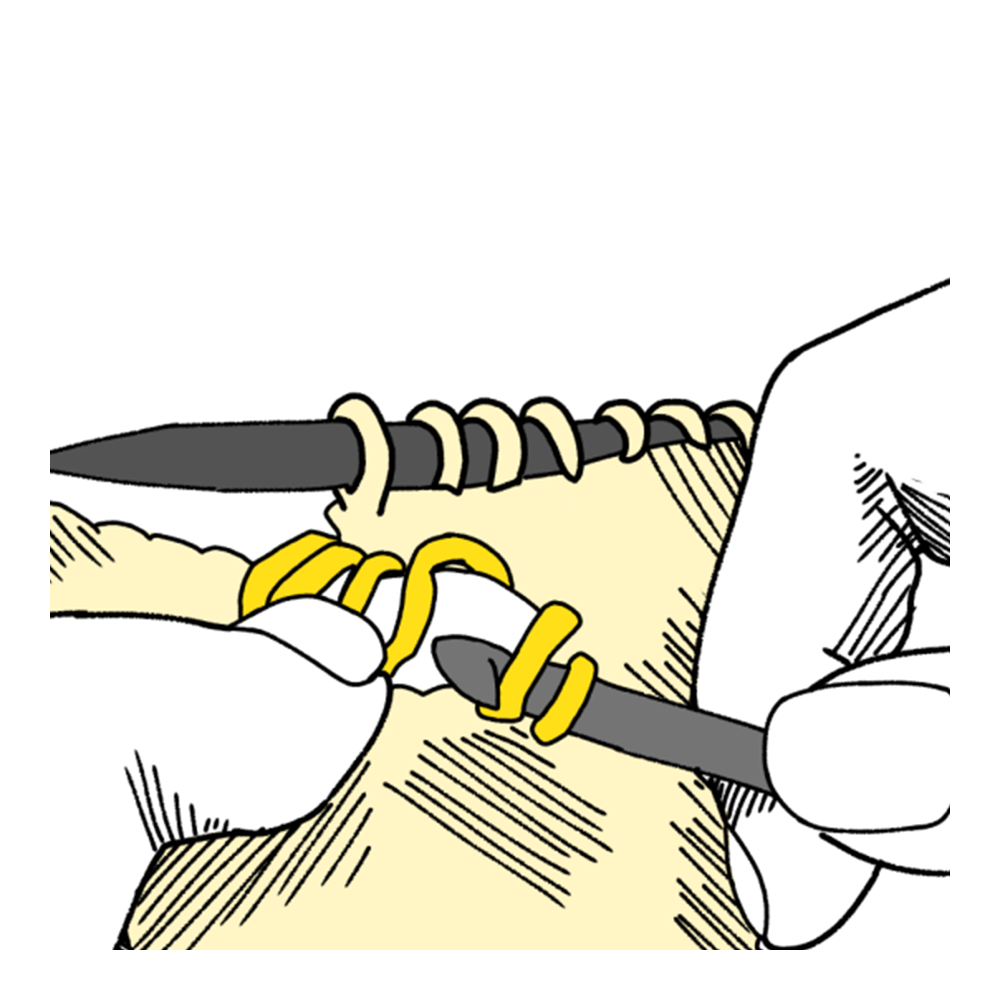
Step 3:
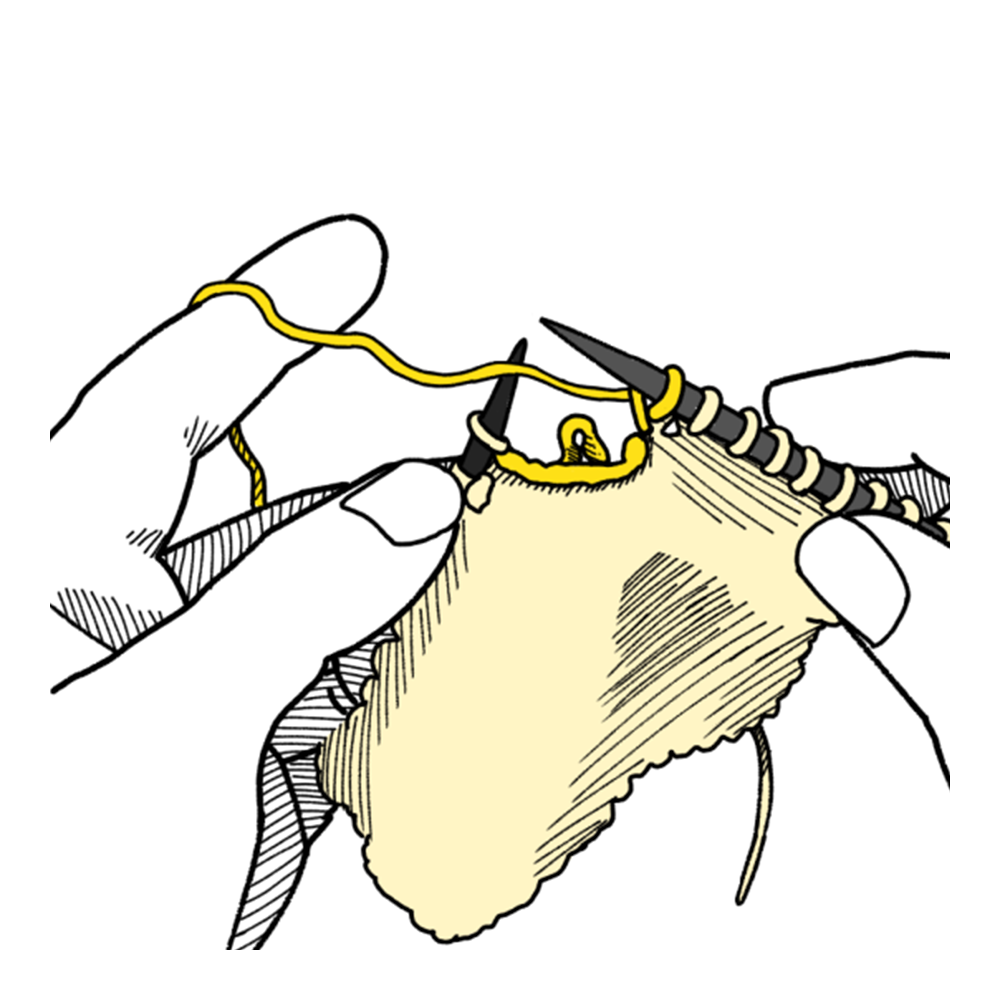
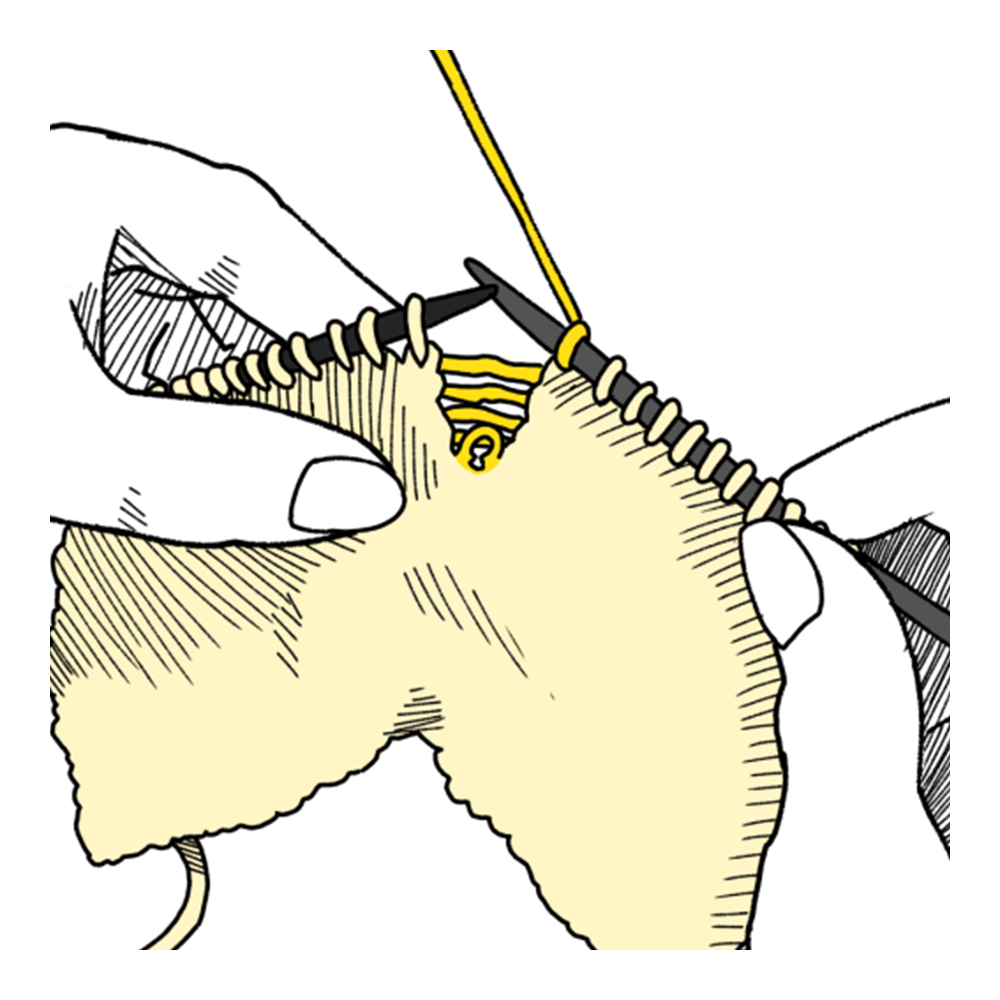
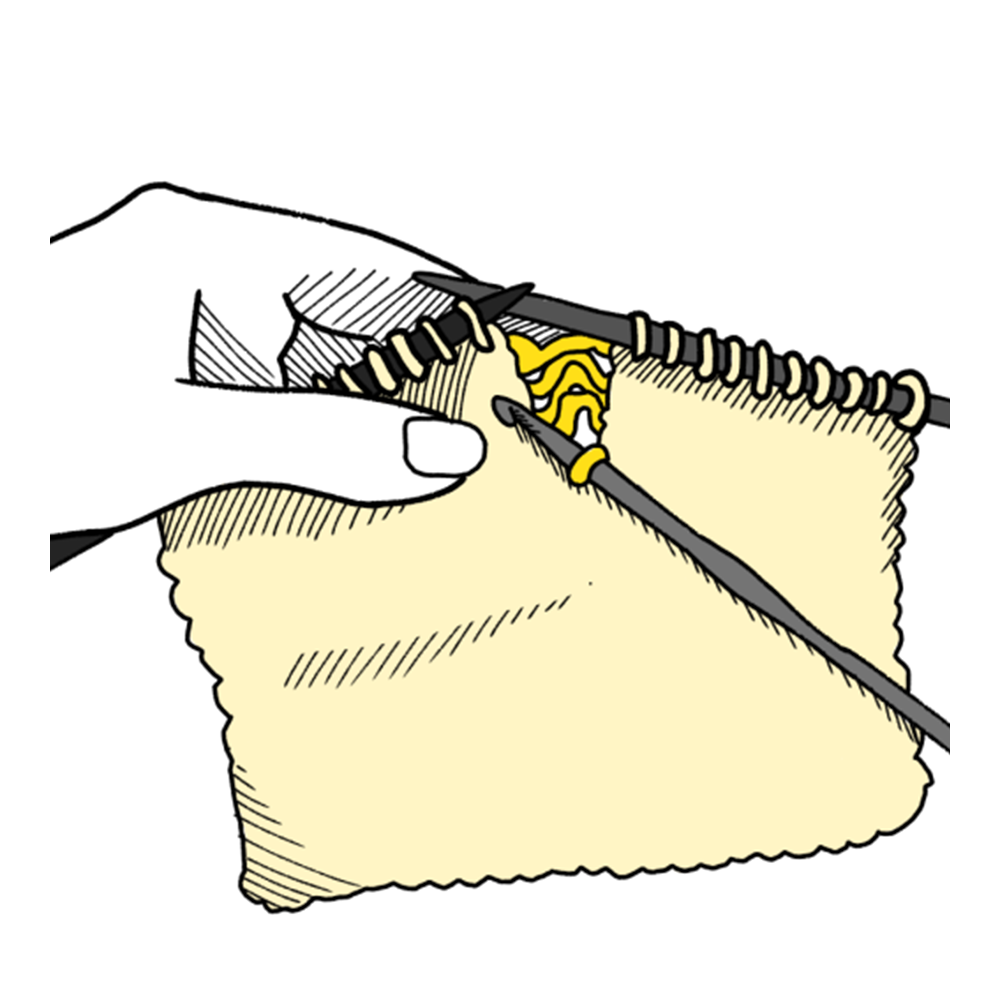
First pick up the stitch, putting your needle or hook through the front of it. Next, slip the first “ladder” on too. Now all that’s left is to lift the stitch over the ladder, creating a new loop with the ladder.
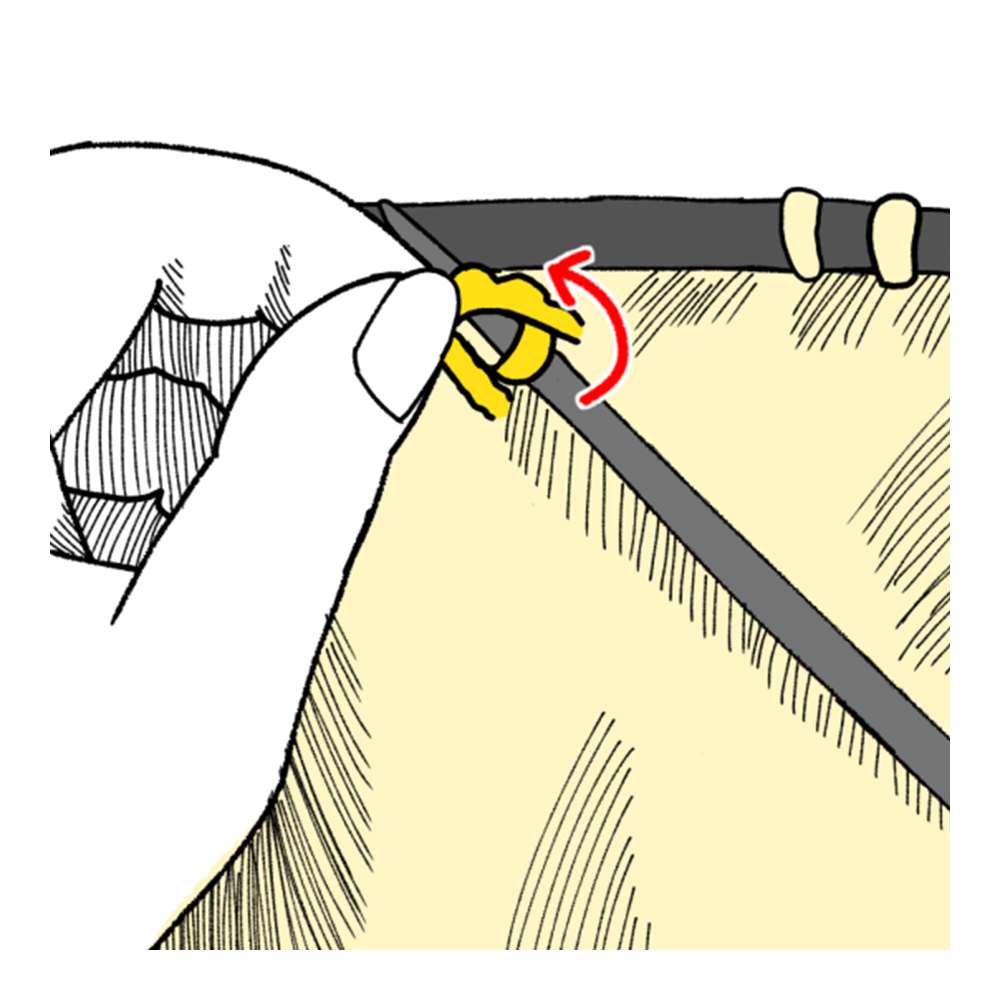
Step 4:
Repeat the last step until you bring your stitch back to where it needs to be and knit it back into your row. Finally, gently disperse any slack tension into the surrounding fabric to even it out.
This method is an easy fix that corrects the dropped stitch as if it never happened. Dropped stitches can leave massive holes in your knitted pieces, not to mention they can unravel from the inside out. By following these steps you can stop that from happening without having to rip out all the stitches you’ve already made.
Dropped stitches are not the end of the world- even experienced knitters can drop a stitch from time to time- but now you know how to fix it, you can knit with confidence.