How to Sew Using the Kitchener Method
The Kitchener stitch is used to join – or ‘graft’ - two sets of live stitches together while creating an invisible seam. This stitch may seem a little complicated at first, but if you follow these simple steps, you’ll master the Kitchener stitch in no time! Check out the Technique Guide for a video tutorial or follow the instructions below!
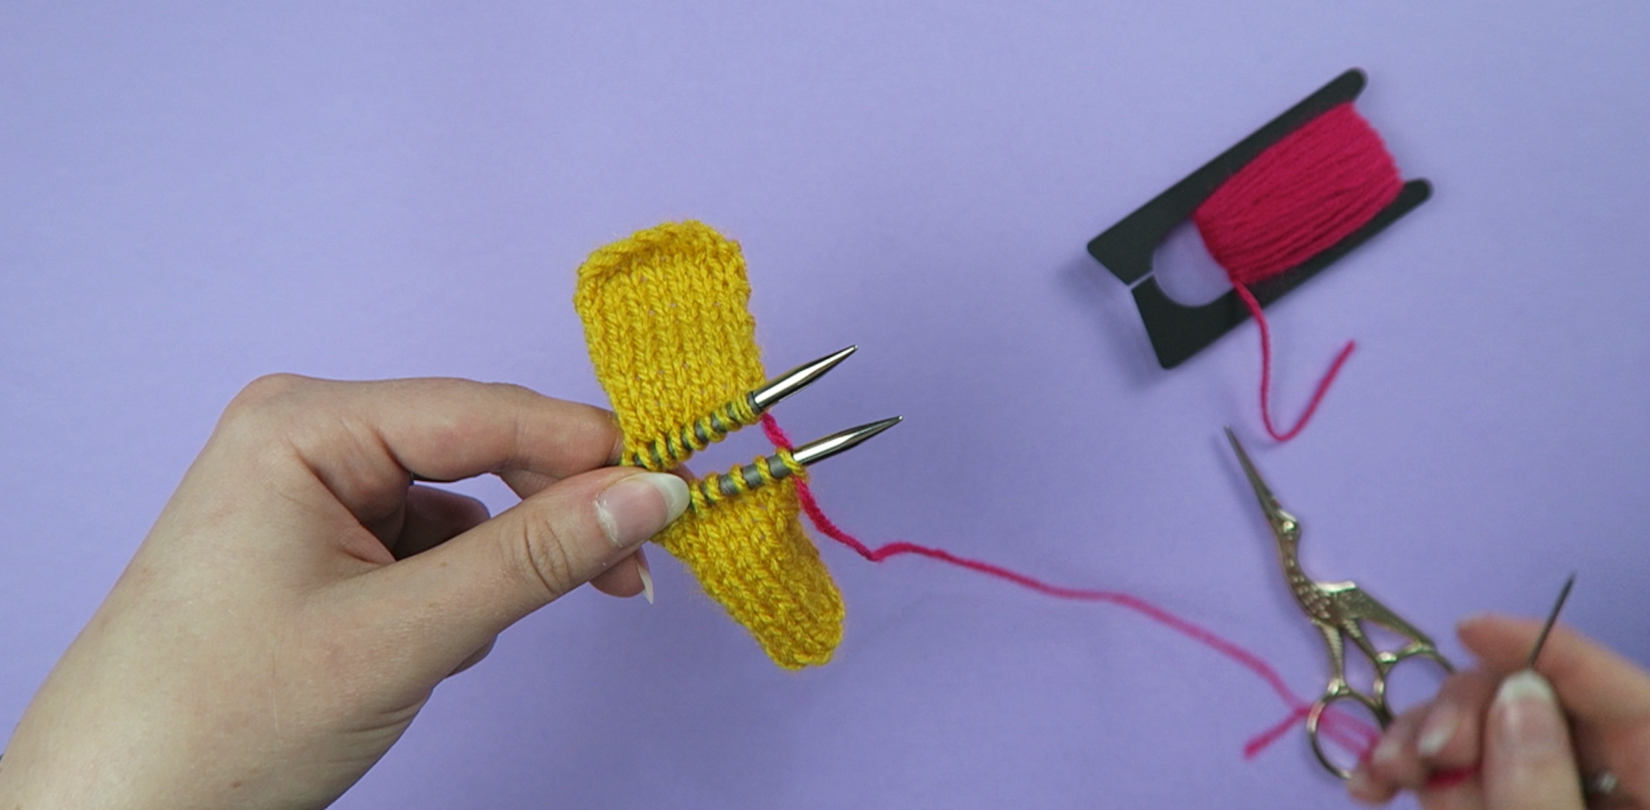
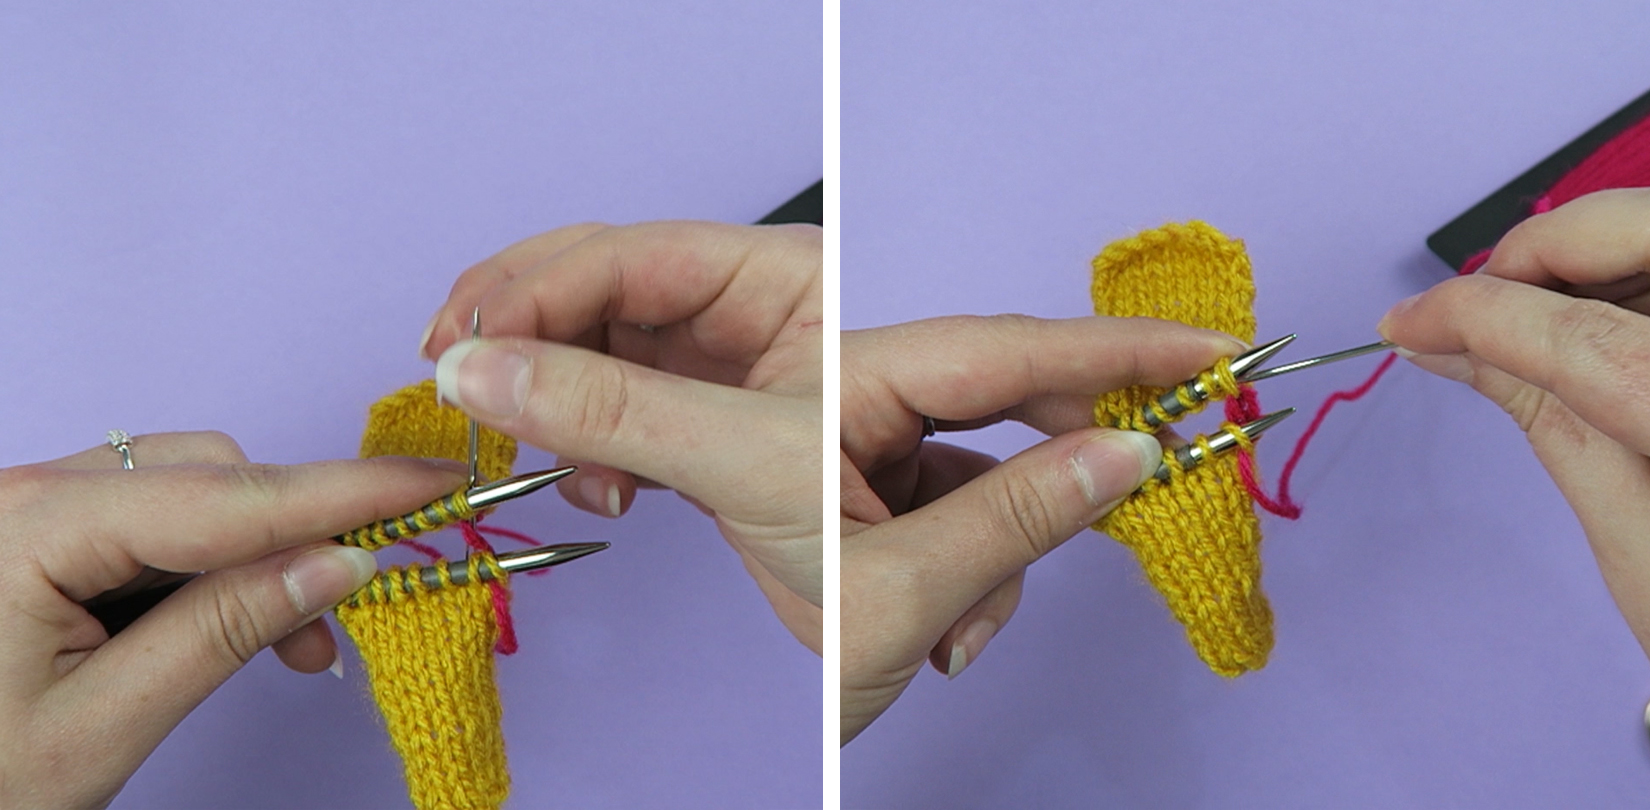
Before you begin stitching it is important to ensure your knitting is set up correctly. Ensure that both the sets of stitches you want to connect are held on two separate needles, like so
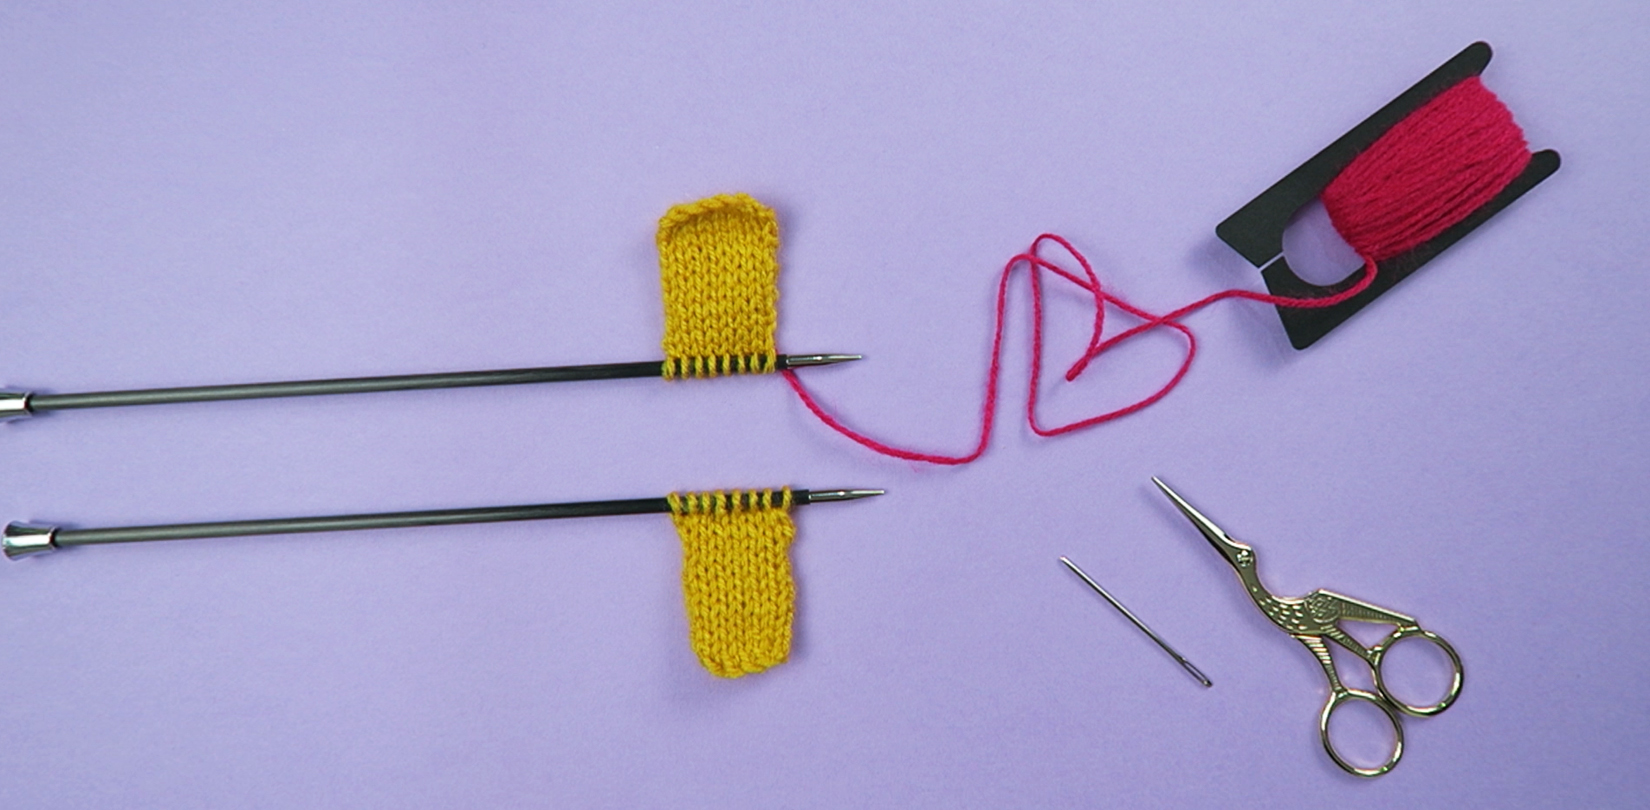
and make sure the wrong sides of your work are facing each other. The piece of yarn you are using should be at least 3 times the size of your work to ensure you don’t run out of yarn before you reach the end. Now you’re ready to start grafting!
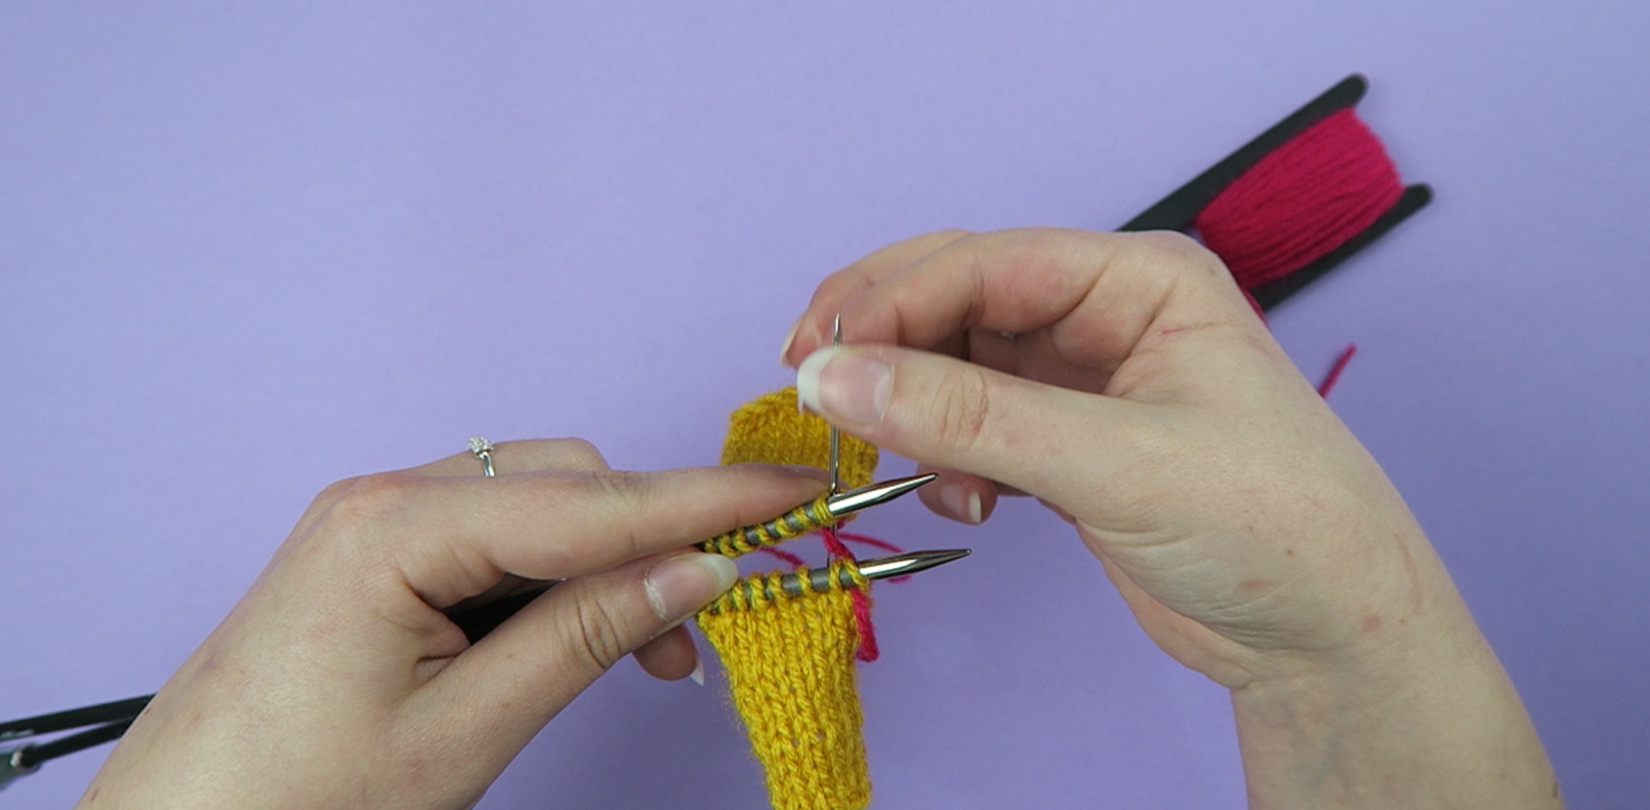
Step 1: First, thread the yarn from back to front purlwise through the first stitch on the front needle (the one closest to you). Then pull the yarn through, leaving the stitch on the needle.
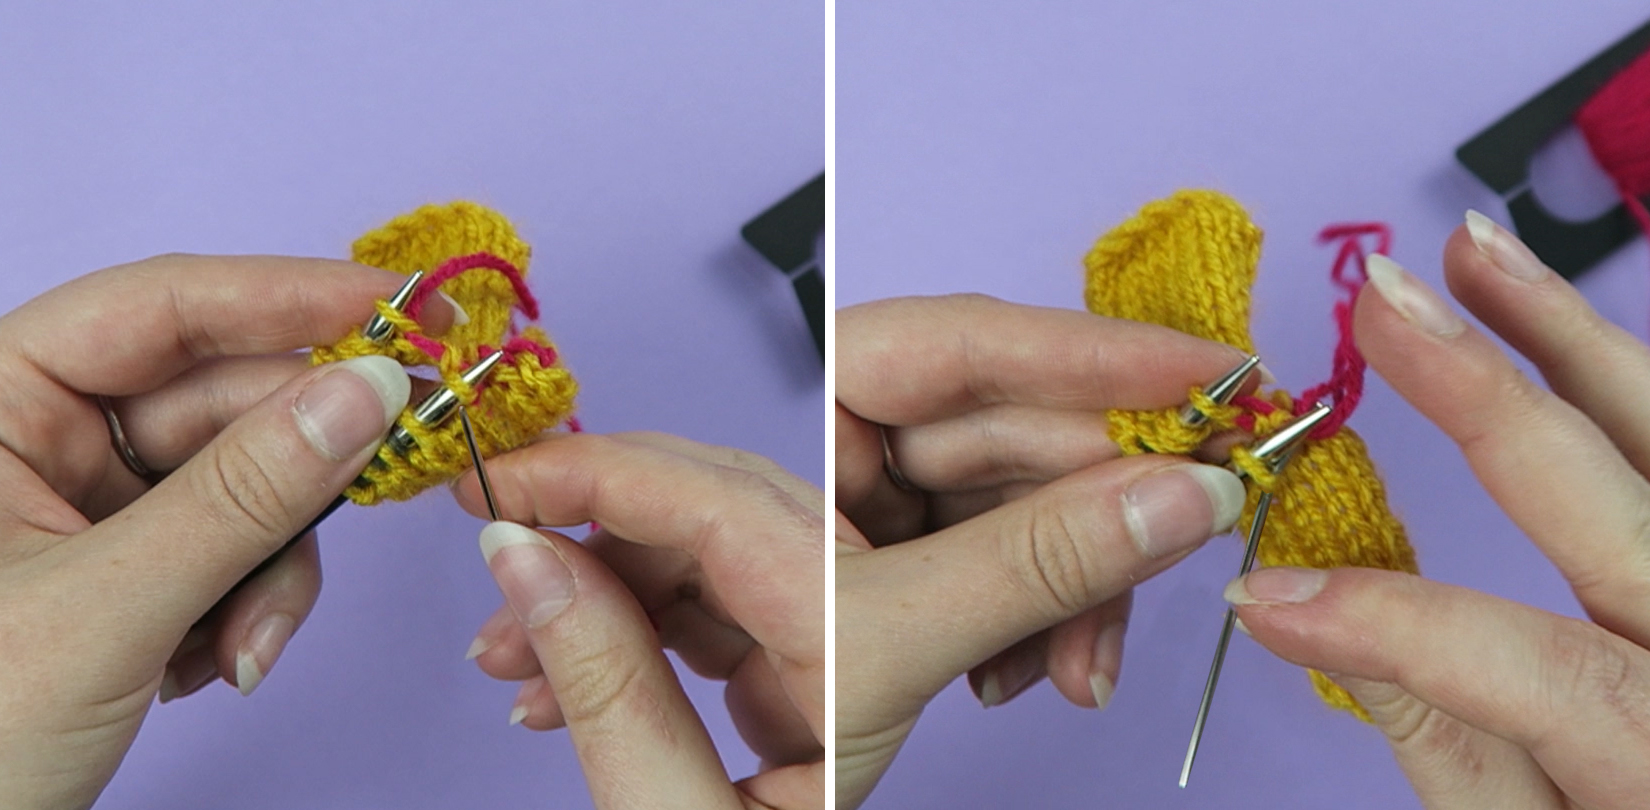
Step 2: The next step is to thread the yarn from front to back knitwise through the first stitch on the back needle. Then remove both stitches from their needles and pull the yarn through – but not too tight, the tension can be altered as you go.
Now you’ve attached your two pieces together and are ready to get stitching!
Step 3: Begin again by threading the yarn in through the front knitwise on the first stitch, then slip the first stitch off the needle and pull the yarn through. Then thread in from the back purlwise on the second stitch on the front needle and pull the yarn through.
Step 4: Then, thread the yarn in in from the back purlwise on the first stitch back needle, slip the first stitch off the needle and pull the yarn through. Then in through the front knitwise on the second stitch on the back needle and pull the yarn through.
Step 5: Continue repeating steps 3 & 4 until your two pieces are fully attached.
Step 6: Join the ends of your pieces together by removing your needles and threading the yarn from front to back knitwise through the last stitch on the front needle and then through the last stitch on the back to front purlwise, slip off the needles and pull the yarn to your desired tightness.
The Kitchner Stitch creates a seamless finish, with an invisible graft, often used to close up the toes of socks, for shoulder seams, or the tops of mittens, but can be used any time you need to seam two sets of live stitches together.
Top Tip: For first time ‘grafters’, it might be useful to practice the stitch with bigger needles, thicker yarn, and a contrasting colour of yarn to make it easier for you to get to grips with the process. Now you know the basic steps for Kitchener stitching, you can give it a go yourself!