What to Do When You Just Can't Get the Gauge
As there are so many variables that can affect knitting tension, it is not uncommon for your gauge to differ from that specified by a pattern. A bit like in a science experiment, altering those variables should create a different outcome and hopefully get you as close as possible (if not bang on) that elusive ‘pattern recommended gauge’. Like most things, it may take a little trial and error to work out exactly what will work for you and the pattern; but it is worth putting the effort in and swatching (and blocking your swatch!!) will only improve the success of your project.
Altering needle size
One of the easiest ways to alter gauge is by changing needle size.
If your tension is looser (you have less stitches over 10cm/4in than suggested by the pattern), try knitting another swatch using a smaller needle. For example, if the pattern swatch suggests 4mm needles, try 3.75mm needles.
If your tension is tighter (you have more stitches over 10cm/4in than suggested by the pattern), try knitting another swatch using slightly larger needles than those suggested.
If need be, you can change up or down several needle sizes but do be aware of how this could affect the overall look and feel of the fabric. The fabric may become tighter or looser than expected so it may be that the yarn isn’t working for you in the same way that it did for the designer.
Changing the needle type
Sometimes, the material that the needle is made from may not be working for you. For example, stitches tend to ‘slip off’ metal needles easier than wooden needles, and wooden needles are often described as ‘stickier’ than metal. If you are finding that the stitches are slipping away from you before you are able to work them, it may be that you are pulling the yarn tighter in order to gain better control. By holding the yarn tighter, the stitches may become tighter and therefore create a tighter gauge fabric. In this instance if changing to a larger needle size isn’t helping maybe changing to a ‘stickier’ needle will? Or maybe your stitches are looser than necessary because they are coming off the needle before they have been tensioned by the act of working the stitch?
Maybe your stitches feel too ‘sticky’ on the needles? Your gauge may be affected because the stitches are not moving smoothly enough off the needles. It may be that a slick metal needle would suit you more. Knitting is generally a rhythmic activity which should flow naturally. If you feel you have cracked the basics but things just don’t feel quite right then maybe it’s worth reviewing the needle type you are using.
Have you substituted the yarn?
It may be that you have decided to use a different yarn to what is recommended by the pattern? This isn’t necessarily a problem but there are extra things you should consider when substituting yarns as this could affect the outcome of your project. For more information, please read our blog on ‘How to Choose a Substitute Yarn'.
Did you swatch flat when the pattern is knit in the round?
Annoyingly, a fabric that knit will likely have a different tension to fabric knit in the round even if none of the other variables change! Usually knitting in the round creates a tighter fabric and for most knitters this is because their knit stitches are tighter than their purl stitches.
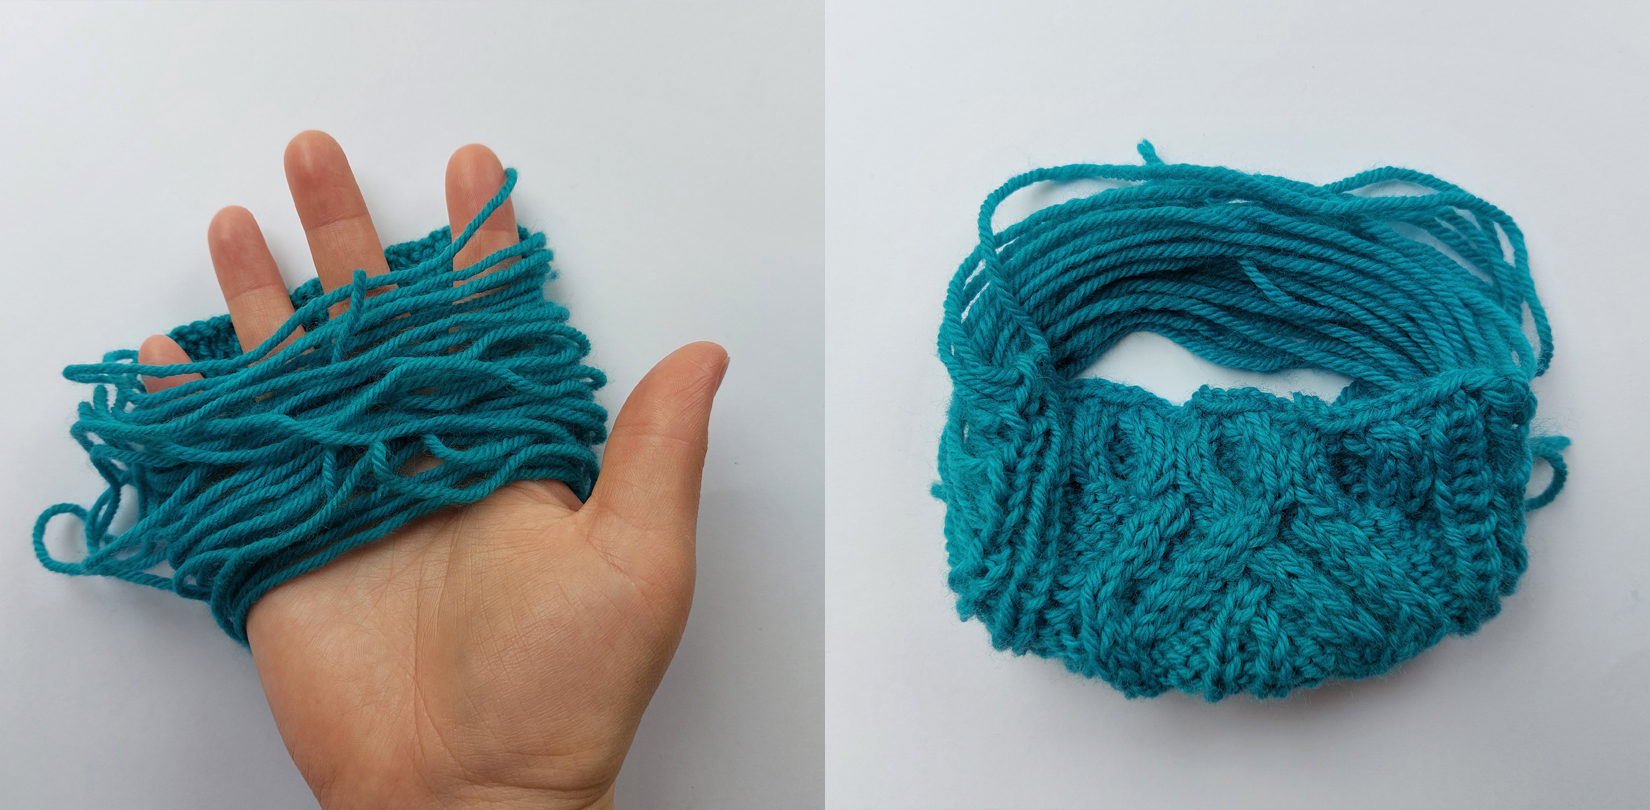
One example of this is the Constellation patterns. Both the Constellation Scarf and Headband are knit flat and have a recommended gauge of “36 stitches and 26rows = 10x10cm (4x4in) in the cable pattern” using 4mm needles. However, the Constellation Beret and Gloves are knit in the round and have a recommended gauge of “32 stitches and 28 rounds = 10x10cm (4x4in) in the cable pattern”.
But how do I swatch in the round?
Swatching in the round is easier than you think! You don’t have to cast on hundreds of extra stitches so that the fabric fits round your circular needle. Using a circular needle or double pointed needles, simply cast on the amount of stitches you need plus some extra. Extra stitches are essential when swatching in the round as the stitches at each edge of swatch will be looser so will not give an accurate measurement.
Cast on using a double pointed or circular needle and knit the first row of your swatch. When you come to the end of the row, instead of turning to the wrong side and working back the other way, slide your stitches back to the other end of the needle so you can work a right side row again, the yarn will still be attached at the other side but not to worry, just bring it back to the side you need to knit again, leaving a long thread at the back of the work. Just make sure you leave it nice and loose so that it doesn’t pull your swatch tight and make it difficult to measure. Just be aware that swatching in the round uses more yarn because of all the ‘floats’ at the back of the swatch!
I still can’t get the gauge! What do I do now?
If you are still struggling to match the recommended gauge, don’t give up just yet!
Do you like the fabric your swatch has created? Will it be appropriate for the project you wish to knit?
If your gauge doesn’t match that of the pattern consider how it may affect the fabric you create. For example, let’s look at a close-fitting winter beanie hat. In order for the hat to be snug and warm it is best for the fabric to be fairly dense, therefore a tighter gauge is more appropriate. If the gauge is much looser than the recommended, the hat will not only be bigger but the fabric will be looser and will probably lack the same warmth properties. Make sure you look at the fabric as a whole to make sure you are happy with it before deciding to continue with your project.
Do I need to pick a different size than I normally would?
When your gauge doesn’t quite match that of the pattern but you are otherwise happy with the fabric properties, choosing to knit a different size to what you might have normally chosen could be the answer. With the use of a little bit of math, you can work out the best size option for your gauge.
Firstly, look at intended finished measurements of the pattern. The measurements most important to check before casting on are the width-based measurements. E.g. chest circumference and upper arm circumference. These are measurements that are difficult to alter once you have started whereas length-based measurements can be changed as you work. For the example we will concentrate on chest circumference but it would be sensible to do the same workings out on other measurements such as the upper arm circumference to ensure that the garment will still fit in other places too.
We will use the ‘Olaf Jumper’ as an example and concentrate on the 6 years size. The chest circumference is 71cm or 28”. To achieve this circumference, the pattern assumes a gauge of 20 stitches for 10cm (4in) width.
Lets break this down to the amount of stitches in 1cm (or 1in):
20/10 = 2 stitches to 1cm
20/4 = 5 stitches to 1in
In order to work out how to achieve the measurements stated using your gauge, use the same math using your own gauge:
- Measure the gauge of your swatch. We will use the gauge of 22 stitches = 10cm (4in) width for this example.
- Divide the number into a single unit of measurement (whichever you like to work in!):
24/10 = 2.2 stitches to 1cm
24/4 = 5.5 stitches to 1in
The difference between the recommended gauge and your personal gauge doesn’t look like much but it is a big deal over a full garment’s worth of stitches! If you were to knit the 6 years size without taking into consideration the gauge difference, you would end up with a garment with a chest circumference of 63.5cm (25.5in) instead of the 71cm (28cm) it should be – roughly 2 sizes smaller than intended!
In order to use your gauge and still create a garment that should fit, you need to work out how many stitches you would need, in your gauge, to create the circumference required, in this instance, 71cm (28in):
Take the stitch count per single unit of measurement (1cm or 1in) and multiply it by the target measurement:
2.2 x 71 = 156 stitches
5.5 x 28 = 154 stitches
Once you have this information, you can look at pattern and pick the size that has the body stitch count which is closest. In this case, you would want to knit the 10yrs size which has a body stitch count of 155 stitches.
There are a couple of ways to find the stitch counts such as the chest circumference for each size in a pattern. You can either go into the ‘body’ component of each size so see this information or you can do a little more math based on the information you already have and the measurements from the size chart. For example, the original 6 years size has a 71cm (28in) chest circumference and the recommended gauge is 2 stitches per 1cm (or 6 stitches to 1in):
2 x 71 = 142 stitches
5 x 28 = 140 stitches
Therefore, the chest circumference for 6 years size will have an approximate stitch count of 140-142 stitches.
Don’t forget about row tension!
If you decide to fix gauge issues by choosing to knit a size bigger or smaller than you would have, you will need to take into account that the pattern will be written for a person with a smaller or larger frame in regards to the torso and arm lengths. Therefore, keep your tape measure at the ready and work to measurements that are appropriate to the actual person who will wear the garment.
In plain stocking stitch projects such as the ‘Olaf Jumper’, this is easy as there is no patterns to contend with. However, altering lengths need a little more thought when knitting a garment such as the ‘Home Alone Jumper’ as there are only a few places where adding or removing rows of pattern will go unnoticed. In this case, look at the pattern notes to work out where best to make these changes. Knit It® pattens are handy for this as they not only give you a visual representation of how the component will look, but also have notes informing you of how long a pattern repeat is (in order to add or remove full pattern repeats) and which patterns lend themselves to be altered! For example, in the ‘Home Alone Jumper’, the broken rib sections are a good place to add or remove length as the pattern repeat is only 2 rounds, whereas the ‘cross’ sections shouldn’t be altered as it would not only change the look of the jumper significantly, but adding an extra repeat here would add more length than probably necessary, or removing it would mean no cross section at all!
Generally speaking, if your stitch (width) gauge is tighter or looser then your row (length) gauge probably will be too. Particularly when it comes to the length of a body or a sleeve, it is easy to fix small discrepancies in row gauge by simply knitting more or less rows than recommended by the pattern. However, a row gauge that is significantly different to that of the pattern where the construction relies on increases and decreases to shape elements such as armholes or necklines. Large discrepancies may end up with an armhole or neckline significantly bigger or smaller than intended, which is much more difficult to fix without in depth knitwear construction knowledge.
One last thing…
Tension also affects the and the amount of yarn you use. If you have a looser gauge, you will use more yarn than the pattern suggests whereas if you knit at a tighter gauge, you will use less yarn. If you decide to continue with your using a different gauge to the pattern, be prepared for this! It’s very annoying when you realise you have bought too much yarn but it’s even more annoying when you run out before the end of your project!